Football Cake (Soccer Cake)

For those of you who love football/soccer and cake, this cake is for you!

Ingredients
4 eggs
3 dl (1 1/4 cup) sugar
225 g (7,9 oz) butter (melted)
6 dl (2 1/4 cup) plain flour
3 tbsp cocoa
3 tsp baking powder
3 tsp vanilla sugar
2, 25 dl (1 cup) milk

Green cream cheese buttercream
150 g (5,3 oz) butter (room temperature)
100 g (3,5 oz) cream cheese
300 g (10,5 oz) powdered sugar
1-2 tsp vanilla extract
Green food color

Decoration
Green sprinkles (see tip below)
White sugar fondant or white writing icing
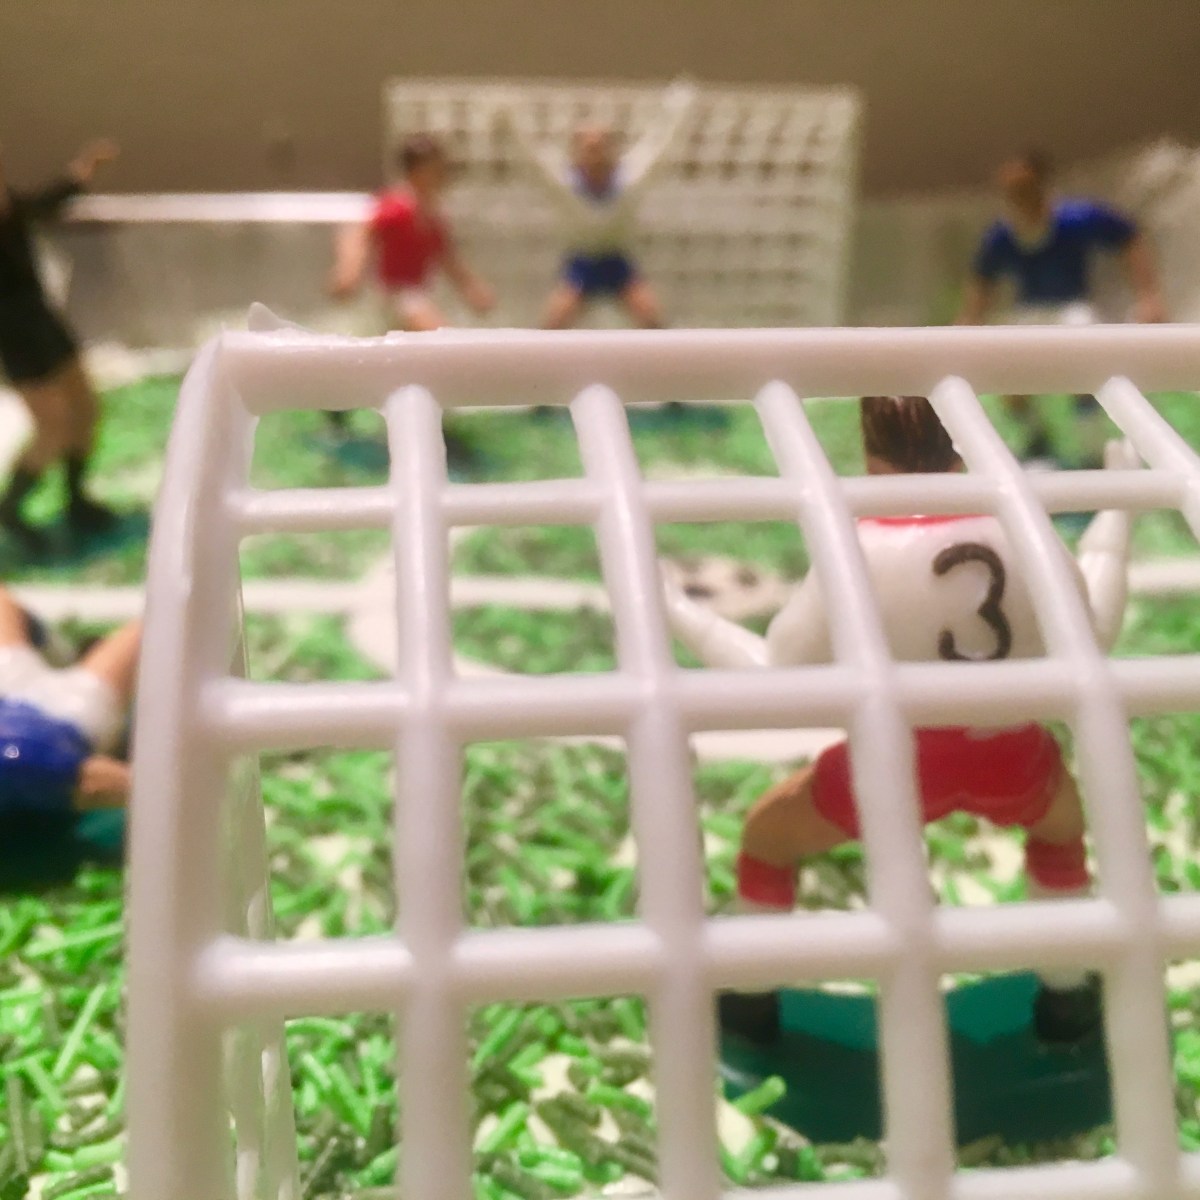
Football set with players and goals (see tip below)

How to do it

  • Preheat the oven to 200ºC / 390ºF. Line a roasting tray, size 30×38 cm (12×15 in) to 35×43 cm (14×17 in), with parchment paper.
  • Melt the butter and let it cool down a bit.
  • In a large bowl, beat the eggs together with sugar for a few minutes until you have a thick and fluffy mixture. I use a stand mixer with a whisk, but you may also use an electric hand mixer.
  • Add the melted butter to the mixture.
  • In a separate bowl, mix together the flour, cocoa, baking powder and vanilla sugar.
  • Slowly add the mixed dry ingredients and the milk to the mixture, and mix until you have a smooth batter.
  • Transfer the batter to the roasting tray.
  • Bake the cake in the bottom of the oven for 15 minutes, or until a skewer put in the centre of the cake comes out clean.

Green Cream Cheese Buttercream

  • Beat the butter until soft.
  • Mix in the cream cheese.
  • Carefully add the powdered sugar, and mix until you a smooth mix.
  • Add the vanilla extract.
  • Carefully mix in green food color until you have the preferred color.

Decoration

  • When the cake has cooled down completely, cover the cake with the green cream cheese buttercream.
  • Cover the buttercream with green sprinkles.
  • Make white lines out of white fondant. (You may also use white writing icing.)
  • Decorate the cake with goals and players.

Football Cake Decoration

Enjoy the game!

Btw:
I used the Dr. Oetker Football Kit (which contains green sprinkles, edible football decorations and white writing icing) and the Cacas Football Set (which contains players and goals). #notsponsored

IMG_2378

Spicy Pear Muffins

Time to bring back some fruits. These muffins are moist and filled with flavor, and they turned out to be a hit with my father. 

Ingredients
Pear Sauce/Jam
10-12 pears (chopped)
2 tsp cinnamon
2 tsp cardamom

Batter
200 g (7 oz) butter (melted)
100 g (3,5 oz) sugar
3 eggs
300 g (10,5 oz) plain flour
2 tsp vanilla sugar
2 tsp baking powder
2 tsp cinnamon
2 tsp cardamom
1 tsp ground ginger
1/2 tsp nutmeg

2 tbsp of cocoa

Frosting/Decoration
Powdered sugar
Vanilla sugar
Cream Cheese
Water

Chopped Almonds


How to do it
Pear Sauce/Jam

  • Chop the pears, and put them in a saucepan.
  • Mix in cinnamon and cardamom.
  • Heat up the pears, and let it simmer until much of the fluids has evaporated.
  • Let the sauce/jam cool down a bit.

Batter

  • Preheat the oven to 200 ºC/ 395 ºF.
  • Melt the butter and let it cool down a bit.
  • In a large bowl, mix together eggs and sugar until you have a thick and fluffy mixture.
  • Stir in the melted butter.
  • In a separate bowl, mix together plain flour, baking powder vanilla sugar and the spices, then slowly add them to the mixture and stir until you have a smooth batter.
  • Carefully stir in the pear sauce/jam with a wooden spoon.
  • With a couple of spoons, transfer the batter to muffins liners in a cupcake/muffins form.
  • When you’ve transferred about 1/2 of the batter into muffins liners, stir in 2 tbsp of cocoa to the rest of the batter. Then transfer the rest of the batter to muffins liners in a cupcake/muffins form.
  • Bake the muffins in the middle of the oven until they have a golden surface, or until a skewer put in the center of the muffins comes out clean, about 15-20 minutes.
  • Take the muffins out of the oven, and let them cool down in the muffins/cupcake form for a few minutes. Then let them cool down on a cooling rack.

Frosting/Decoration

  • Mix together powdered sugar, vanilla sugar (1-2 tsp), cream cheese (about 2 tbsp) and water until you have a smooth, yet fluid, mix.
  • Cover the muffins with the frosting and decorate with chopped almonds.

IMG_2190

Enjoy!

IMG_2197

Red Velvet Valentine’s Cake

I´m not the biggest fan of Valentine´s Day, but it gives me a good reason to bake. So here’s my version of Red Velvet Cake, with raspberries and two versions of buttercream. Share it with someone you care about, today or some other day!

Ingredients
200 (7 oz) melted butter
200 (7 oz) sugar
3 eggs
300 (10,5 oz) plain flour
2 tsp baking powder
3 tsp vanilla sugar
1 tsp baking soda
1 1/2 tbsp cocoa
2,25 dl (1 cup) milk
1 tbsp red food color (no taste)

200 g (7 oz) frozen raspberries

Cream cheese buttercream
50 g (1,8 oz) butter (room temperature)
100 g (3,5 oz) cream cheese
250 g (8,8 oz) powdered sugar
1 tsp vanilla sugar

Buttercream
150 g (5,3 oz) butter (room temperature)
75 g (2,7 oz) cream cheese
375 g (13,2 oz) powdered sugar
2 tsp vanilla sugar
1 good squeeze of a slice of lemon

Grated dark chocolate


How to do it

  • Preheat the oven to 200ºC /390ºF.
  • Butter and line 1-3 round cake tins (22 cm/ 9 in) (and/or use parchment paper).
  • Melt the butter and let it cool down a bit.
  • In a large bowl, beat the eggs together with sugar for a few minutes until you have a thick and fluffy mixture. I use a stand mixer with a whisk, but you may just as well use an electric hand mixer.
  • Mix in about 1/3 of the melted butter, and pour it into the mixture.
  • In a separate bowl, mix together the flour, cocoa, baking powder, baking soda and vanilla sugar.
  • Slowly add the dry ingredients and the rest of the milk to the mixture, and mix until you have a smooth batter.
  • Mix in the red food color. The batter should become bright red.
  • Transfer 1/3 of the batter to (each) cake tin.
  • Bake each layer in the middle of the oven for 15 minutes, or until a skewer put in the centre of the cake comes out clean.
  • Let the layers cool down on a cooling rack.
  • Heat up the raspberries until boiling point. Let it cool down.

Cream cheese buttercream

  • In a large bowl, beat the butter until smooth. I use a stand mixer with a whisk.
  • Add the cream cheese and mix well.
  • In a separate bowl, mix together the powdered sugar and the vanilla sugar. Slowly add the dry ingredients to the butter and cream cheese.
  • Mix until you have smooth buttercream, and transfer to a separate bowl.

Buttercream

  • In a large bowl, beat the butter until it´s smooth. I use a stand mixer with a whisk.
  • Add the cream cheese and mix well.
  • In a separate bowl, mix together the powdered sugar and the vanilla sugar. Slowly add the dry ingredients to the butter and cream cheese.
  • Add a good squeeze of a slice of lemon.
  • Mix until you have smooth buttercream, and transfer about half of the cake piping tool.

Put it all together

  • When the cake layers are cool, put one layer on a tray. 
  • Make a circle of buttercream around the edges of the layer (this will keep the cream cheese buttercream in place).
  • Cover the layer with half of the raspberries (see picture).
  • Cover the raspberries with half of the cream cheese buttercream (see picture).
  • Sprinkle some grated chocolate over the cream cheese buttercream (see picture).
  • Place the second layer over the first one, make a circle of buttercream around the edges, and cover it with the rest of the raspberries, the rest of the cream cheese buttercream and grated chocolate, just like on the first layer.
  • Place the third layer on top, and cover the entire cake (top and sides) with the rest of the buttercream.
  • I have decorated the cake with three balls of licorice covered in white chocolate, raspberry dust and chili. And a sprinkle heart.

Happy Valentine´s Day!

IMG_2126.jpeg

Pink Power – Raspberry Cake

October is breast cancer awareness month. With this cake I want to bring attention to, and honour, everyone who is in any way affected by breast cancer or any other type of cancer, whether you are a survivor, a fighter, a family member or friend, doctor, nurse or in any other way work to fight this disease. Please support your national or local breast cancer foundation, organization or charity. Power to the Pink, and F*** Cancer!

Ingredients
150 gram (5,5 oz) softened butter
100 gram (3,5 oz) sugar
2 eggs
200 gram plain flour
1 1/2 tsp baking powder
2 tsp vanilla sugar
200 gram (7 oz) frozen raspberries

2-3 tbsp milk

Cream Cheese Frosting
30 gram (1 oz) softened butter
200 gram (7 oz) cream cheese
2 tsp vanilla sugar
4 tsp powdered sugar

Decoration
Raspberries (fresh and dried), raspberry dust.

How to do it

  1. Preheat the oven to 200ºC (390ºF), and butter and line a round cake tin, 20 cm (8 in).
  2. In a large bowl, beat together the butter and the sugar. I use a stand mixer, but you may just as well use an electric hand mixer.
  3. Add the eggs to the mixture, one by one.
  4. In a separate bowl, mix together the plain flour, baking soda and vanilla sugar.
  5. Slowly add the mixed dry ingredients to the mixture. 
  6. Add the frozen raspberries, and stir until you have a smooth, pink batter.
  7. Transfer half of the batter into the cake tin.
  8. Bake in the middle of the oven for about 20 minutes, or until a skewer put in the centre of the cake comes out clean. 
  9. Let the cake (first layer) cool down in the cake tin for a few minutes before taking it out of the tin and laying it on a cooling rack.
  10. Butter and line the cake tin again, then transfer the rest of the batter into the tin and bake for about 20 minutes in the middle of the oven.
  11. Let the second layer cool down in the cake tin for a few minutes before taking out it of the tin and laying it on the cooling rack.
  12. Moisten both layers with some milk while they are still a bit warm. I use about a tablespoon for each layer.
  13. For the frosting, mix together cream cheese and softened butter. Carefully add vanilla sugar and powdered sugar into the mix until you have found the preferred sweetness and texture.
  14. When the layers are cool, put one of the layers on a serving tray and cover the top with about 1/3 of the frosting. Sprinkle on some fresh raspberries.
  15. Place the second layer of the cake over the first one.
  16. Cover the cake with the rest of the cream cheese frosting.
  17. Decorate with raspberries (fresh and dry) and perhaps some raspberry dust.

Btw…
The top of the layers of the cake can be a bit uneven. To give yourself a straight surface on top of the cake, just turn the second layer upside down (with the bottom up) when placing it over the first layer.

IMG_0386